

If you just installed WordPress, looking at the dashboard for the first time can feel a bit like looking at the controls of a spaceship. There are buttons, menus, and notifications everywhere.
The good news is that you don’t need to be a tech genius to master it. Think of the WordPress dashboard as the “backstage” area of your website. This is where you create content, change how your site looks, and manage your settings.
Here is a simple guide to help you understand exactly what each part of the dashboard does.
The Toolbar
At the very top of your screen, you will see a thin dark bar. This is the Toolbar. It stays there even when you are looking at your live website (as long as you are logged in).
- Site Name: Clicking your site name allows you to switch between the back end (the dashboard) and the front end (what your visitors see).
- New: This is a shortcut button. You can hover over it to quickly start a new post, upload an image, or create a new page.
- User Profile: On the far right, you can edit your profile or log out.
The Main Sidebar Menu
The vertical menu on the left side is your main navigation tool. This is where you will spend most of your time.
Posts vs. Pages
This is often the most confusing part for beginners.
- Posts: Use these for blog entries or news. They appear in reverse chronological order (newest first).
- Pages: Use these for static content that doesn’t change much, like your “About Us” or “Contact” page.
Media
The Media Library is the storage room for your website. Every photo, video, or PDF you upload is stored here. You can click “Add New” to upload files directly from your computer.
Comments
This is where you manage the conversation on your site. When readers leave a message on your blog posts, they show up here. You can approve them, delete spam, or reply to your fans.
Appearance
This is the “styling” department.
- Themes: This is where you choose the overall design of your site.
- Customize: This opens a live preview where you can change colors, fonts, and your site title.
- Menus: Use this to create the navigation bar at the top of your website.
Plugins
Plugins are like apps for your website. If you want to add a contact form, improve your security, or add an online store, you do it by installing a plugin.
Settings
This is the brain of your site. You can change your time zone, decide if you want people to be able to comment, and set up how your links look.
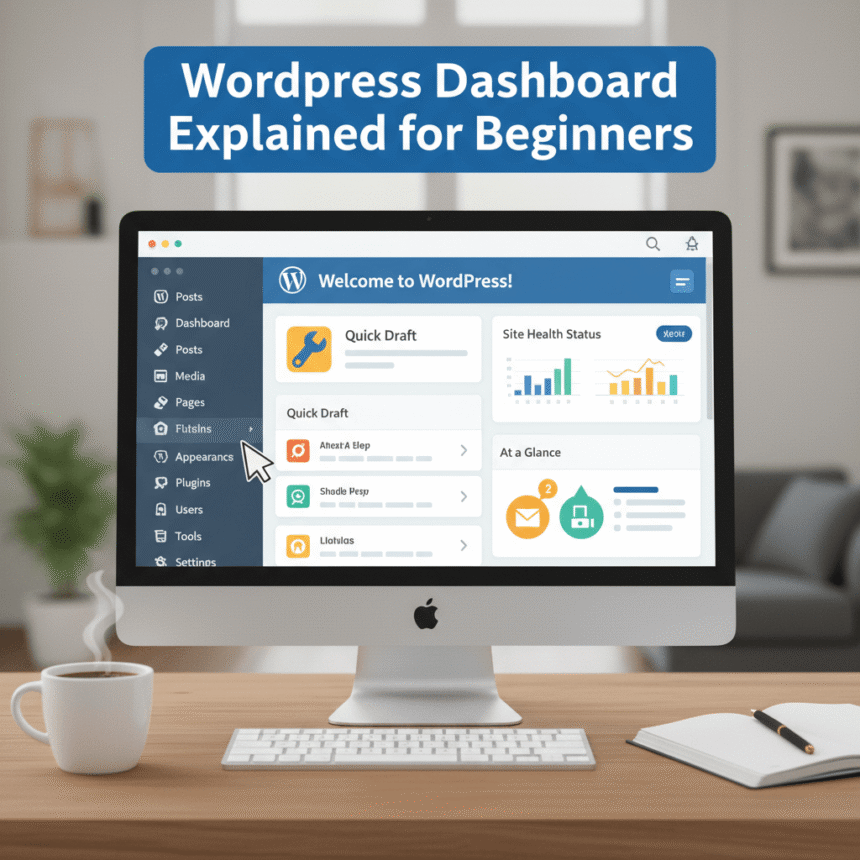
The Dashboard Home Screen
When you first log in, you see the “Home” area. This contains small boxes called Widgets that give you a quick summary of your site.
- At a Glance: Shows you how many posts and pages you have.
- Quick Draft: Allows you to jot down a blog idea quickly so you can finish it later.
- Activity: Shows you your most recent posts and latest comments.
Tips for Beginners
- Don’t Panic: You can’t break your site just by clicking around the dashboard.
- Keep it Clean: Many plugins add their own boxes to your dashboard. If it gets too crowded, click the “Screen Options” tab at the very top right of the screen to hide things you don’t use.
- Update Regularly: When you see a red circle with a number next to “Updates,” click it. Keeping WordPress updated keeps your site safe from hackers.
The WordPress dashboard is designed to be user friendly. The more you use it, the more natural it will feel. Start by writing your first post, and you will see how easy it really is.