

Building a website used to be a task only for experts who knew how to write code. Today, things are much easier. WordPress is the most popular tool for creating websites because it is flexible, free, and easy to use.
In this guide, we will walk you through the entire process of setting up your own WordPress site. By the end of this post, you will have a live website ready for the world to see.
Step 1: Get a Domain Name and Web Hosting
Before you can install WordPress, you need two main things:
- A Domain Name: This is your website address (like www.yourname.com).
- Web Hosting: This is a service that stores your website files on a server so people can access them on the internet.
Many hosting companies offer a “One-Click Install” for WordPress, which makes the process very fast. When choosing a host, look for one that provides a free SSL certificate. This adds a padlock icon next to your URL, showing visitors that your site is secure.
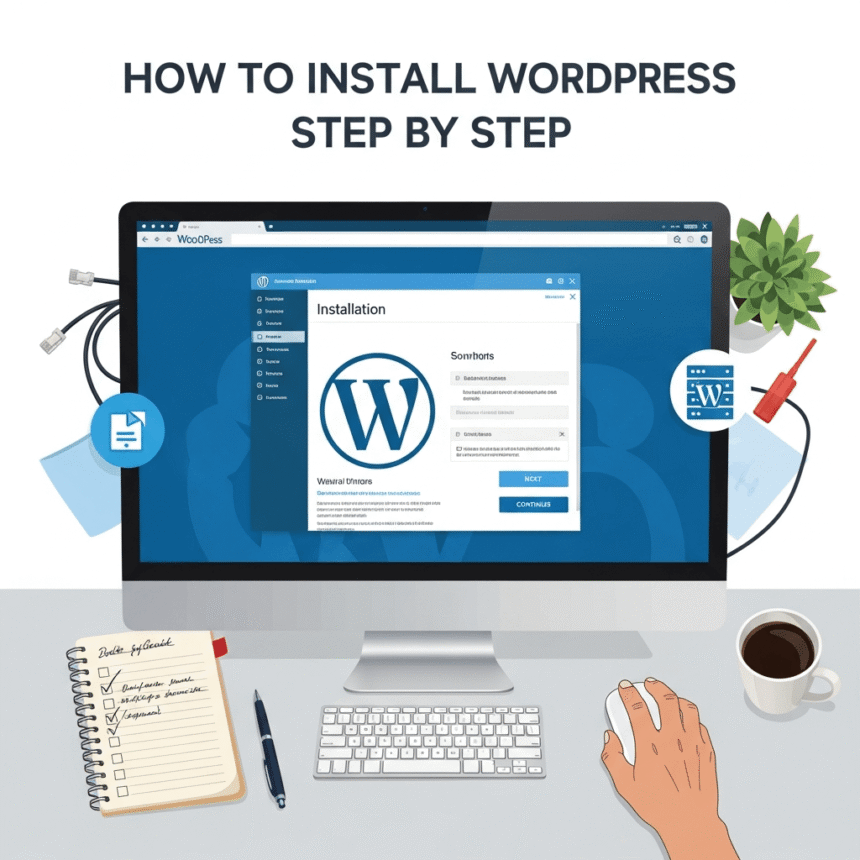
Step 2: Use the One-Click Installation Method
Most modern hosting providers use a dashboard called cPanel or a custom account area. This is the easiest way to install WordPress.
- Log into your hosting account.
- Look for a section labeled Software or Website.
- Click on the WordPress icon or the Softaculous Apps Installer.
- Click the Install Now button.
- Choose the protocol (use https://) and select your domain name.
- Enter your Site Name and Site Description.
- Create an Admin Username and a Strong Password. Do not use “admin” as a username because it is easy for hackers to guess.
- Enter your email address and click Install.
Once the process finishes, you will see a message with a link to your website and a link to your login page.
Step 3: The Manual Installation (Optional)
If your host does not have an automatic installer, you can do it manually using an FTP client or your host’s File Manager.
- Download the latest version of WordPress from WordPress.org.
- Unzip the file on your computer.
- Upload the files to your server using an FTP tool like FileZilla.
- Create a MySQL database and a user through your hosting control panel.
- Visit your domain in a web browser. WordPress will ask for your database details.
- Follow the on-screen instructions to finish the setup.
Step 4: Access Your WordPress Dashboard
To manage your site, you need to log in to the dashboard. You can usually find this by adding /wp-admin to the end of your website address.
For example: www.yourwebsite.com/wp-admin
Enter the username and password you created during the installation. Once you are inside, you can start changing the look of your site and adding content.
Step 5: Essential Settings After Installation
Before you start writing, there are a few things you should check:
- Permalinks: Go to Settings and then Permalinks. Choose the Post Name option. This makes your links look clean and professional.
- Timezone: Go to Settings and then General to set your local time.
- Delete Sample Content: WordPress comes with a “Hello World” post and a sample page. You should delete these to keep your site tidy.
Step 6: Pick a Theme and Plugins
Now comes the fun part. You can change how your site looks by going to Appearance and then Themes. There are thousands of free themes available. Look for one that is “responsive,” which means it looks good on both computers and mobile phones.
You should also install a few basic plugins. Plugins are like apps for your website that add new features. Good starting points include:
- A security plugin to keep hackers away.
- A contact form plugin so people can message you.
- An SEO plugin to help your site show up in search results.
Summary
Installing WordPress is a straightforward process. Whether you use the easy one-click method or the manual way, you can have a site up and running in less than an hour. Once the installation is done, focus on creating great content and connecting with your audience.